Introduction
Have you ever experienced the inconvenience of discovering a lingering security tag on your newly purchased item? You try your best to remove it, but you find it difficult. Do not worry; you are not alone! In this article, we will provide effective solutions to get the target security tag off without damaging the item and making your shopping experience more enjoyable.
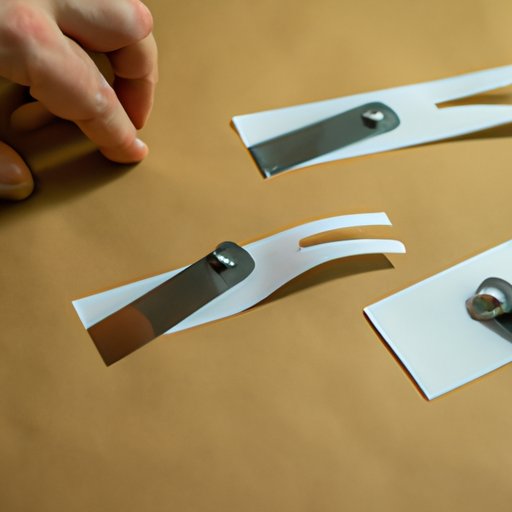
Use a Security Tag Removal Tool
A security tag removal tool is a device that effectively and easily removes security tags. These tools come in different shapes and sizes and have been developed by various companies. Apart from their effectiveness, security tag removal tools are relatively cheap and worth the investment.
Step-by-Step Guide:
- Place the tool around the clasp of the security tag.
- Follow the tool’s instructions on how to release the clasp.
- Remove the tag from your item.
Freeze the Security Tag
This technique involves using compressed air to freeze and snap off the security tag. It may sound strange, but several people have successfully used it to remove security tags.
When the security tag is frozen, it becomes brittle, and a swift hit or knock on the tag’s clasp can cause it to snap open.
Step-by-Step Guide:
- Get a can of compressed air (used for cleaning a computer’s keyboard and mouse).
- Turn it upside down and spray the liquid onto the tag for around 15 seconds.
- Give the tag a sharp blow with a hard object, like a hammer, to snap the clasp open.
Magnetize the Security Tag
This technique involves the locking mechanism of the security tag. When a magnet is placed near it, the magnetic force deactivates the lock, and it can be opened without damage to the item. You can try this technique if a reliable magnet is available.
Step-by-Step Guide:
- Find a strong magnet and place it near the security tag’s clasp.
- When the magnet is correctly placed, you should hear a click or feel the clasp unlock.
- Slide or twist the tag off the item.
Cut the Security Tag
This technique involves using a sharp object, such as wire cutters or scissors, to cut the metal. You should take care when using this method not to damage the item.
Step-by-Step Guide:
- Place the security tag on a hard, stable surface.
- Hold the tag in one hand and use wire cutters or scissors with the other.
- Before cutting, ensure the blade is between the halves of the metal plate.
- Cut the metal plate in a swift motion.
- Separate the tag from the item.
Dissolve the Security Tag
This technique utilizes solvents like WD-40, acetone, or vinegar to dissolve the locking mechanism of the security tag. It is essential to note that while solvents can remove security tags, they can also damage the item if not used correctly. Additionally, you should carefully handle the solvents, and always work in a well-ventilated area to avoid inhalation.
Step-by-Step Guide:
- Put on gloves to prevent solvent contact with your hands.
- Spray the solvent onto the security tag.
- Wait for the solvent to take effect.
- Wipe off the dissolved compound and carefully remove the tag from the item.
Ask A Store Associate
If none of the above solutions work, it is essential to ask for help from the store personnel. The store associates have the necessary tools and training, and they can help remove the security tag without damaging the item. Be sure to provide proof of purchase, and it’s best to ask for assistance as soon as the problem arises.
When and how to ask for help:
- Visit the store where you purchased the item as soon as possible.
- Show proof of purchase to the store personnel.
- Explain the situation to the store associate and request assistance.
Conclusion
We have provided several different options to remove security tags and prevent the damage to your purchased item. We firmly recommend that you exercise caution while applying any of these methods and remind you that your safety comes first. We hope these solutions will enable you to take care of your newly purchased items without any frustrating experiences.
Final thoughts:
- If possible, invest in a security tag removal tool.
- Handle solvents carefully.
- If all else fails, seek the assistance of a store associate.


