Introduction
If you’re looking to improve air circulation, save on your electricity bills, and add a touch of style to your home, installing a ceiling fan is a great investment. While it may seem like a challenging task, with proper guidance and tools, anyone can successfully install a ceiling fan. This comprehensive guide is designed to provide you with all the necessary steps, tips, and resources to help you safely and successfully install your ceiling fan, regardless of your DIY experience level.
Step-by-Step Guide
To successfully install your ceiling fan, you will need a few essential tools and materials, including a ceiling fan kit with all necessary components, a screwdriver, a wire stripper, a voltage tester, a drill, and a ladder. Always remember to turn off the power supply to the room from the circuit breaker/fuse and follow safety precautions like wearing gloves and safety goggles.
Step 1: Prepare the area – clear the area below where the ceiling fan is going to be installed and spread out a drop cloth to protect from falling dust.
Step 2: Remove the Old Fixture – Now it’s time to remove the old fixture by unscrewing it from the ceiling mount. Use the voltage tester to ensure the power supply to the fixture is completely off.
Step 3: Install the ceiling bracket – After removing the old fixture, install the provided ceiling bracket with the screws and a drill. Make sure it’s secured tightly to the ceiling.
Step 4: Install the mounting bracket – The fan’s mounting bracket typically hangs from the ceiling bracket. The fan should be attached to this bracket so you must install it correctly. Align the mounting bracket with the screw holes and secure it tightly to the ceiling bracket with screws and a washer.
Step 5: Wiring – Connect the wires from the ceiling fan to those in the electrical box, making sure the wire connections are tight, and using wire connectors to ensure the connection does not come loose. Tighten all screws and fit the wire connectors in the junction box. You can then fit the canopy, which covers the hanging bracket.
Step 6: Attach the fan blades – Attach the fan blades to the motor by inserting the screws through the pre-drilled holes in the motor housing and attaching them to the blades. Make sure that the blades are level and spaced from each other.
Step 7: Install the Light Kit (Optional) – If your ceiling fan comes with a light kit, connect the kit according to the manufacturer’s instructions. Attach the base of the light kit to the motor housing with screws, then attach the light globe or shades provided.
.
Step 8: Test the Fan – Once you are finished fixing everything, turn on the power supply, both at the wall and the switch. Do a quick test of the fan blades and the light kit (if available). Your ceiling fan is now installed and ready to go.
Video Tutorial
If you prefer a more hands-on approach, you can find plenty of video tutorials online. Below is a video that covers the entire ceiling fan installation process, from start to finish. Make sure to pay careful attention to the instructions and safety precautions mentioned in the video.
Remember to adhere to the safety precautions during the installation process.
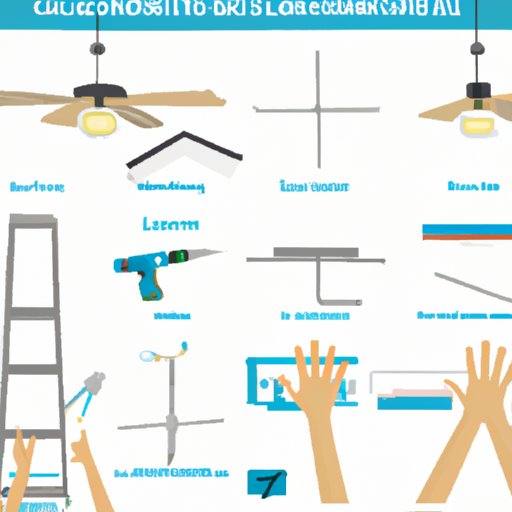
Infographic Instructions
We recognize that some people are visual learners, so we’ve created a ceiling fan installation infographic to help guide you through the process. Follow through the simple and easy-to-understand steps in the infographic, and you’ll have your ceiling fan installed in no time.

Frequently Asked Questions
Are you still feeling unsure about the ceiling fan installation process? Below are some of the commonly asked questions about ceiling fan installation and their answers.
Q: Can I install a ceiling fan without an electrical box?
A: No, an electrical box is necessary to fix the mounting bracket securely. It is not safe to just hang the fan from the ceiling ceiling or duct tape it to the ceiling.
Q: Should I high all ceiling fans at the same height?
A: It’s not a rigid science, but it is usually recommended that all your ceiling fans in the house have the same hanging height. It affects the air circulation and symmetry of the room’s look.
Q: Can I use an existing light switch to control a ceiling fan and light kit?
A: Yes, but you need to install a fan switch instead of a light switch. You can install a fan switch that has a built-in dimmer that controls the fan and the light kit.
Q: What should I do if my ceiling fan is not working?
A: First, turn off the power supply at the main and remove the fan’s canopy to see if any wires are slipping or loose. If there are no loose connections, then try the pull chain to confirm it is not the chain that needs replacing. Replacing the fan’s motor or capacitor may also come in handy.
Listicle
Check out these top 7 tips for a successful ceiling fan installation:
- Make sure you have all the necessary tools and materials. Don’t try to substitute them as it may pose a safety threat.
- Ensure the electricity is turned off before you start working on your fan. Be sure to double-check with a voltage detector before you start.
- Hang the mounting bracket securely, preferably with the help of an assistant.
- Attach the blades to the motor in accordance with the manufacturer’s instructions to prevent vibrations and noise.
- Don’t let the wires hang loose or touch the metal parts of the fan to avoid short circuits.
- Test your fan fully after installation before you cover it up. Ensure that all components, including the light kit if it is available, operate as required.
- If in doubt, seek the help of a professional electrician. It’s not advisable to take a risk with electrical wiring if you’re not appropriately trained.
Conclusion
Installing a ceiling fan can be a fun and rewarding DIY project, but it is important to follow the proper installation process and safety precautions. This guide has provided clear and concise instructions on how to install a ceiling fan step-by-step, as well as a video tutorial and an infographic to help guide you through the process. Additionally, we have answered some of the most commonly asked questions and provided a list of tips and tricks to ensure a successful installation. Remember, if you’re not sure of anything or don’t feel comfortable with the process, it’s always better to contact a licensed electrician for assistance.


