I. Introduction
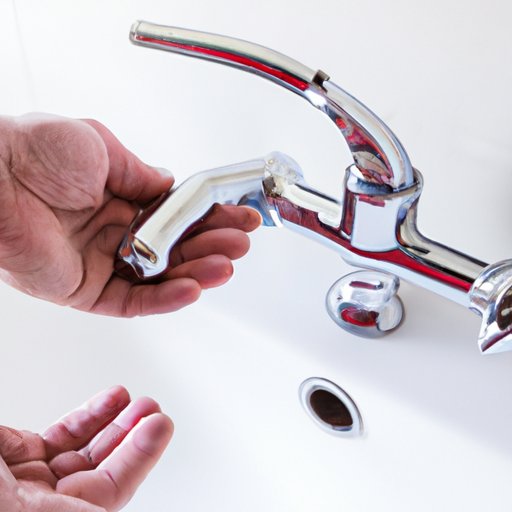
Installing a bathroom faucet can be a daunting task for those who have never attempted it before. Common problems such as leaks and stripped screws can make the process frustrating. However, with the right tools and guidance, anyone can complete this project.
The purpose of this article is to provide a comprehensive guide on how to install a bathroom faucet. We will offer step-by-step instructions, beginner-friendly tips, and solutions to common problems. By the end of this article, you’ll feel confident enough to take on the installation project yourself.
II. Step-by-Step Guide
Before you begin installing your bathroom faucet, it’s crucial to check the existing plumbing. Ensure that the new faucet is compatible with your existing plumbing before removing the old faucet. Here’s a step-by-step guide:
- Turn off the water supply by closing the valves under the sink.
- Remove the old faucet by loosening the mounting nuts with a wrench or pliers.
- Use a putty knife to clean the sink surface where the old faucet sat.
- Insert the rubber gasket and mounting plate from the new faucet into the sink holes.
- Insert the faucet into the sink and secure it with mounting nuts and a basin wrench.
- Attach the water supply lines to the faucet and turn on the water supply. Check for leaks and tighten connections as needed.
It’s always helpful to have images or videos to supplement the instructions. Many manufacturers provide online tutorials or instructional videos for specific models. Be sure to consult them if you need extra assistance.
III. Beginner-Friendly Guide
If you’re new to DIY projects, installing a bathroom faucet can seem overwhelming. Here are some tips to make the process a bit easier:
- Choose a faucet that comes with installation instructions or consult the manufacturer’s website.
- Make sure you have all the necessary tools and materials on hand before beginning.
- Break down each step into smaller, manageable tasks.
- Ask a friend or family member for help if you need it.
- Don’t be afraid to take breaks if you get frustrated or overwhelmed.
IV. Tools and Materials Guide
Here are the tools and materials you’ll need for the installation:
Tools
- Basin wrench
- Adjustable wrench
- Screwdriver
- Pliers
- Putty knife
- Hacksaw
- Bucket and towels (for catching water during installation)
Materials
- New faucet
- Plumbers tape
- Silicone sealant
- Clean cloth
Each tool and material serves a specific purpose. For instance, the basin wrench is used to tighten mounting nuts in tight spaces, while the pliers are used to grip and turn pipes. Make sure you have all the necessary tools and materials before beginning the installation.
V. Maintenance Guide
Once you’ve installed your new bathroom faucet, it’s essential to maintain it properly. Here are some maintenance tasks to consider:
- Regularly clean the faucet with a mild soap and water. Avoid harsh chemicals or abrasive sponges that can scratch the finish.
- Check for leaks regularly. If you notice any leaks, tighten the connections or call a professional to assist you.
By following these tips, you can prolong the lifespan of your bathroom faucet and avoid costly repairs or replacements.
VI. Problems and Solutions Guide
While installing a bathroom faucet, you may encounter some common problems. Here are some solutions to those problems:
Faucet Leaks
A leaky faucet can be frustrating. Here are some steps to take:
- Shut off the water supply and check the connections for any loose parts. Tighten any loose connections with a wrench.
- Replace any worn-out washers or seals.
Stripped Screws
Stripped screws can make it difficult to replace the faucet. Here’s how to fix the problem:
- Use a hacksaw to cut a small notch into the stripped screw’s head.
- Use a flathead screwdriver to turn the screw out of the mounting nut.
By troubleshooting these common problems, you can avoid frustration and complete the installation project with ease.
VII. DIY vs Professional Guide
While it may be tempting to attempt a bathroom faucet installation yourself to save money, it’s essential to weigh the pros and cons carefully. Here are some advantages of attempting the installation yourself:
- Save money on labor costs.
- Gain a sense of accomplishment and learn a new skill.
However, there are also some disadvantages to consider:
- Risk causing damage to your plumbing or property.
- Incur more significant costs if you make a mistake and need to hire a professional to fix the problem.
If you decide to hire a professional plumber, you’ll benefit from their expertise and speed. They’ll have all the necessary tools and materials, ensure the job is done correctly, and provide a warranty for their work. Ultimately, the decision to hire a professional or attempt the project yourself depends on your level of expertise and comfort with DIY projects.
VIII. Decor Ideas Guide
Choosing a bathroom faucet that complements your decor is an important consideration. Here are some tips to help you choose the perfect faucet:
- Consider the finish of other fixtures in the room, such as towel racks or light fixtures, to ensure they match.
- Choose a faucet style that complements the overall design aesthetic of the room. For instance, if your bathroom has a vintage look, choose a faucet with an antique finish.
- Take into account the size of the sink and the faucet to ensure they are proportional. A bulky faucet can overpower a small sink or vice versa.
By considering these tips, you can choose a bathroom faucet that not only functions well but also enhances the room’s overall look.
IX. Conclusion
Installing a bathroom faucet may seem intimidating, but with the right tools and guidance, anyone can complete this project. By following this step-by-step guide, beginner-friendly tips, and solutions to common problems, you’ll have a new faucet installed smoothly and successfully.
For those who are new to DIY projects, take the time to research and choose a faucet that comes with installation instructions to make the process easier. And remember, if you encounter any problems during installation, there are resources available to help you troubleshoot and solve them.


