Introduction
Fonts are a crucial element for designers, writers, and anyone who wants to manipulate text in any way. However, installing a font is not always a straightforward process. This article will provide a step-by-step guide on how to install fonts on Windows, macOS, and Linux operating systems. Additionally, we will offer a video tutorial, an infographic, frequently asked questions (FAQs), and a list of font manager plug-ins and apps to make installing fonts a breeze.
Understanding Fonts and File Formats
Before we dive into the installation process, let’s go over some fundamental information about fonts and file formats. Fonts are digital files that contain a set of letters, numbers, symbols, and other characters. These files enable a computer to display text in different styles and sizes. There are two primary font file formats: TrueType Font (TTF) and OpenType Font (OTF). TTF fonts are widely used and compatible with various operating systems, while OTF fonts offer more advanced features such as multiple languages support and improved typography.
Fonts work similarly across different operating systems. However, the installation process varies. When you install a font, it becomes accessible to programs installed on your device, such as Microsoft Word, Adobe Photoshop, and other text editors.
Step-by-Step Guide to Installing Fonts
In this section, we’ll provide an overview of the steps needed to install fonts on Windows, macOS, and Linux operating systems.
Windows
To install fonts on Windows, you’ll need to follow these steps:
- Download the font file.
- Locate the font file on your computer.
- Right-click on the file and select “Install.”
- The font will now be installed on your computer and accessible to all programs that use fonts.
If you encountered an error message or the font does not appear in your program, try restarting the program to see if the font appears.
macOS
Installing fonts on macOS is a simple process. Follow these steps to install fonts on your Mac:
- Download the font file.
- Double-click on the font file to open it.
- Click “Install Font.”
- The font will now be installed and accessible to all programs on your Mac.
If you can’t install a font or it doesn’t show up in a program, check to see if the app or program has a font menu option. In some cases, you may need to manually enable the font to be visible in your program.
Linux
Linux provides multiple installation methods for fonts. Here are a few common ways to install fonts on Linux:
- Open the font file with a font viewer like Font Manager, then click “Install.”
- Copy the font file and paste it into the “/.fonts” directory in your Home folder. (If the “.fonts” directory does not exist, create it.) Then, update the font cache by running the command “fc-cache -fv.”
If you encounter issues installing a font, you may need to check the font file’s permissions or whether it supports your Linux distribution.
Test Your Font
After installing your font on the operating system of your choice, it’s essential to test the installation. Open the program you want to use the font in, like Microsoft Word or Adobe Photoshop. Then, use the program’s font menu to select and apply the new font. If the font appears correctly, you’ve installed it successfully.
Video Tutorial
If you prefer visual learning, we’ve got you covered. Check out our video tutorial, which walks you through the installation process on Windows, macOS, and Linux.
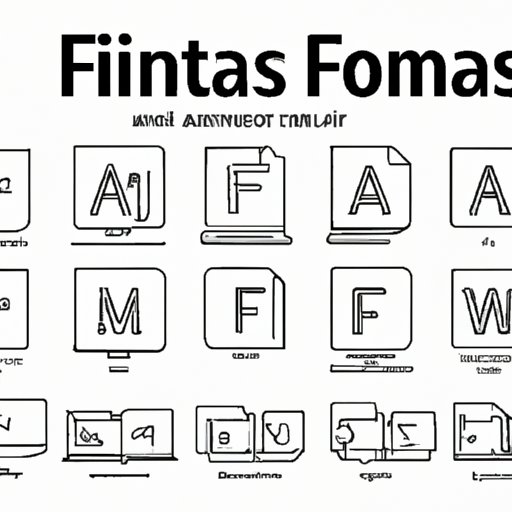
Infographic
Visual aids can help you understand a process better. Take a look at our infographic, which breaks down the installation process into a series of easy-to-follow steps, and discover new shortcuts which will make your processes more efficient.
FAQs
We’ve compiled a list of frequently asked questions to help users address any challenges that arise while installing fonts. Here are a few common examples:
Why is my font not appearing in an app?
If you installed a font, but it’s not visible in an app, try restarting the program to see if the font appears. If restarting the app doesn’t work, try manually enabling the font in the app’s font menu.
How do I know which file format my font is?
Right-click on your font file, click “Properties,” and select the “Details” tab. The file type and other details should be listed here.
What is a font manager, and how can it help me?
A font manager is software that helps you manage and organize your font library. It can help you preview and install fonts, remove unwanted duplicates, and organize your fonts into folders and groups to save time when working on your projects.
Plug-ins/Apps
In this section, we’ll introduce you to popular font manager plug-ins and apps.
FontBase
FontBase is a free font manager that allows you to manage your fonts from multiple sources, including Google and Adobe Fonts. You can install and organize your fonts into collections, preview them, and apply them across multiple projects.
RightFont
RightFont offers a font manager plugin for Sketch and Adobe Creative Cloud software. It lets you install, organize, and search for fonts across multiple libraries and font providers like Google Fonts, Adobe Fonts, and TypeKit.
Conclusion
Installing fonts is an essential step for designers and writers to customize their work and create a unique style. This article highlights the step-by-step process involved in installing fonts on Microsoft Windows, macOS, and Linux operating systems. We hope to have made the process easier for you by providing additional resources such as a video tutorial, infographic, FAQs, and a list of font manager plug-ins and apps. By following these instructions and resources, you’ll be able to manage your font library effectively and install the fonts you need for your projects.


