Introduction
Have you ever wanted to build your own catapult? Whether it’s for a school project, backyard fun, or to impress your friends, building a catapult can be a rewarding experience. In this article, we will provide you with a detailed step-by-step guide on how to make a catapult at home. We’ll also look at the history and the science behind the mechanics of it. So, gather your tools and materials and let’s begin!
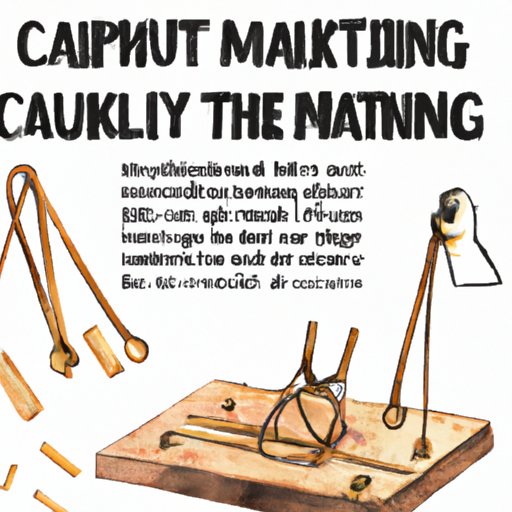
Step-By-Step Guide
Making a catapult is a fun and hands-on experience. Here is a step-by-step guide to building your own catapult.
1. Gather the materials
– Wooden plank of size 14 inches * 8 inches
– Wooden dowels
– Rubber bands
– Spoon or a small cup
– Duct tape
– Glue
– Small pom-poms or marshmallows
2. Prepare the base
– Take the wooden plank and place it on a flat surface
– Cut two small pieces of wooden dowels and glue them to the base at one end of the plank
– These will serve as stoppers to hold the catapult in place later
3. Build the frame
– Take two long wooden dowels and glue them at the opposite end of the plank
– These will serve as the supports for the catapult arm
– Attach two small wooden dowels to the two supports at an angle of 45 degrees
– Similarly, glue another long wooden dowel between the ends of the small dowels
– The result should be a V-shaped frame with the single long dowel serving as the arm
– Secure the joints with duct tape and allow the glue to dry
4. Attach the cup and the rubber bands
– Take the spoon or the small cup and glue it to the end of the long dowel
– Make sure the cup is secure and positioned properly
– Attach the rubber bands to the ends of the long dowel and the base of the supports
– Make sure the bands are tense but not too tight
– This will provide the tension needed to launch objects
5. Test your catapult
– Take a small pom-pom or a marshmallow and place it in the cup
– Pull back on the arm of the catapult until you reach the desired tension
– Finally, let go of the arm and watch your object fly!
Materials Article
If you’re making a catapult at home, there are several materials you’ll need. Here’s a list of items you’ll need for this project:
– Wooden plank of size 14 inches * 8 inches
– Wooden dowels
– Rubber bands
– Spoon or a small cup
– Duct tape
– Glue
– Small pom-poms or marshmallows
Most of these materials can be purchased at your local hardware store or online. A wooden plank can be obtained from a hardware store, while rubber bands and duct tape can be purchased from a craft store.
Video Tutorial
If you’re a visual learner, watching a video tutorial can be helpful to get a better understanding of how a catapult is constructed. Here’s a video that demonstrates how to make a simple catapult:
History Article
The catapult is an ancient weapon that has been used for thousands of years. In ancient Greece and Rome, catapults were used in battles to hurl rocks and other objects at enemy soldiers and fortifications. The Roman empire was known to have some of the most advanced types of catapults in ancient warfare. Catapults were developed further in the Middle Ages where they were used in battles like the Siege of Constantinople in 1453. The use of catapults diminished after the invention of gunpowder in the 14th century.
Today, catapults are used in fun activities, like backyard games, science experiments or even pumpkin chucking contests.
Safety Article
It’s important to take precautions when building a catapult to prevent accidents. Here are some safety tips to keep in mind:
– Always wear safety goggles and gloves when working with woodworking tools or cutting materials
– Use sharp tools with caution and under the supervision of an adult
– Keep your hands and fingers away from the cutting edges of the tools
– Make sure your workstation is clear of debris, so you don’t trip or fall
– When launching objects, don’t aim at people or animals
– Always test the catapult carefully to avoid injury
Competitive Article
Building a catapult can be turned into a fun and competitive activity where you can pitch your catapult against others in terms of accuracy and power. Here are some tips to build a powerful catapult:
– Use thicker and stronger rubber bands, which provide enough tension to launch objects
– Adjust the angle of the arm to achieve more force
– Keep the size of the cup or spoon on the end of the arm small to maximize leverage
– Make sure that the wooden parts are secured with glue and duct tape so that it remains sturdy and safe
Science-Focused Article
Catapults are a great way to learn about the science of physics, specifically, the mechanics of levers and pulleys and how they come into play. The trajectory and projectile motion of the objects being launched also affect how a catapult operates. Here’s the science behind the working of a catapult:
– A catapult works by storing potential energy in the rubber bands
– When the arm is pulled back, more potential energy is stored
– When the arm is released, the stored energy is converted into kinetic energy, which launches the object
– The position and angle of the arm and cup determine the projectile’s trajectory and distance
Conclusion
In conclusion, creating a mini-projectile launcher is simple and can be done with everyday materials. With the help of our detailed guide, you can easily make a catapult and personalize it to your style and preference. It can be a fun activity to do with your family and friends and a great tool to teach kids about physics. So go ahead and give it a try! Share with us your pictures and builds.


